Discover the power of a customized Smart Thermostat using Home Assistant and ESPHome that integrates seamlessly with your home automation system. By combining them, you can unlock advanced features and fine-grained control over your HVAC system. In this article, we will guide you through the step-by-step process of creating a Smart Thermostat using ESPHome, incorporating sensors and relays to achieve precise temperature control and energy efficiency.
Steps:
Gather the Required Components:
You can find the some of the products in the Shopping List below.
- Raspberry Pi: Choose a Raspberry Pi board as the central hub for your smart thermostat setup, the latest Raspberry Pi model 4B would future proof the system for few years.
- Temperature Sensor: Select a compatible temperature sensor ( Di Mini shield sensor ) to measure ambient temperature accurately.
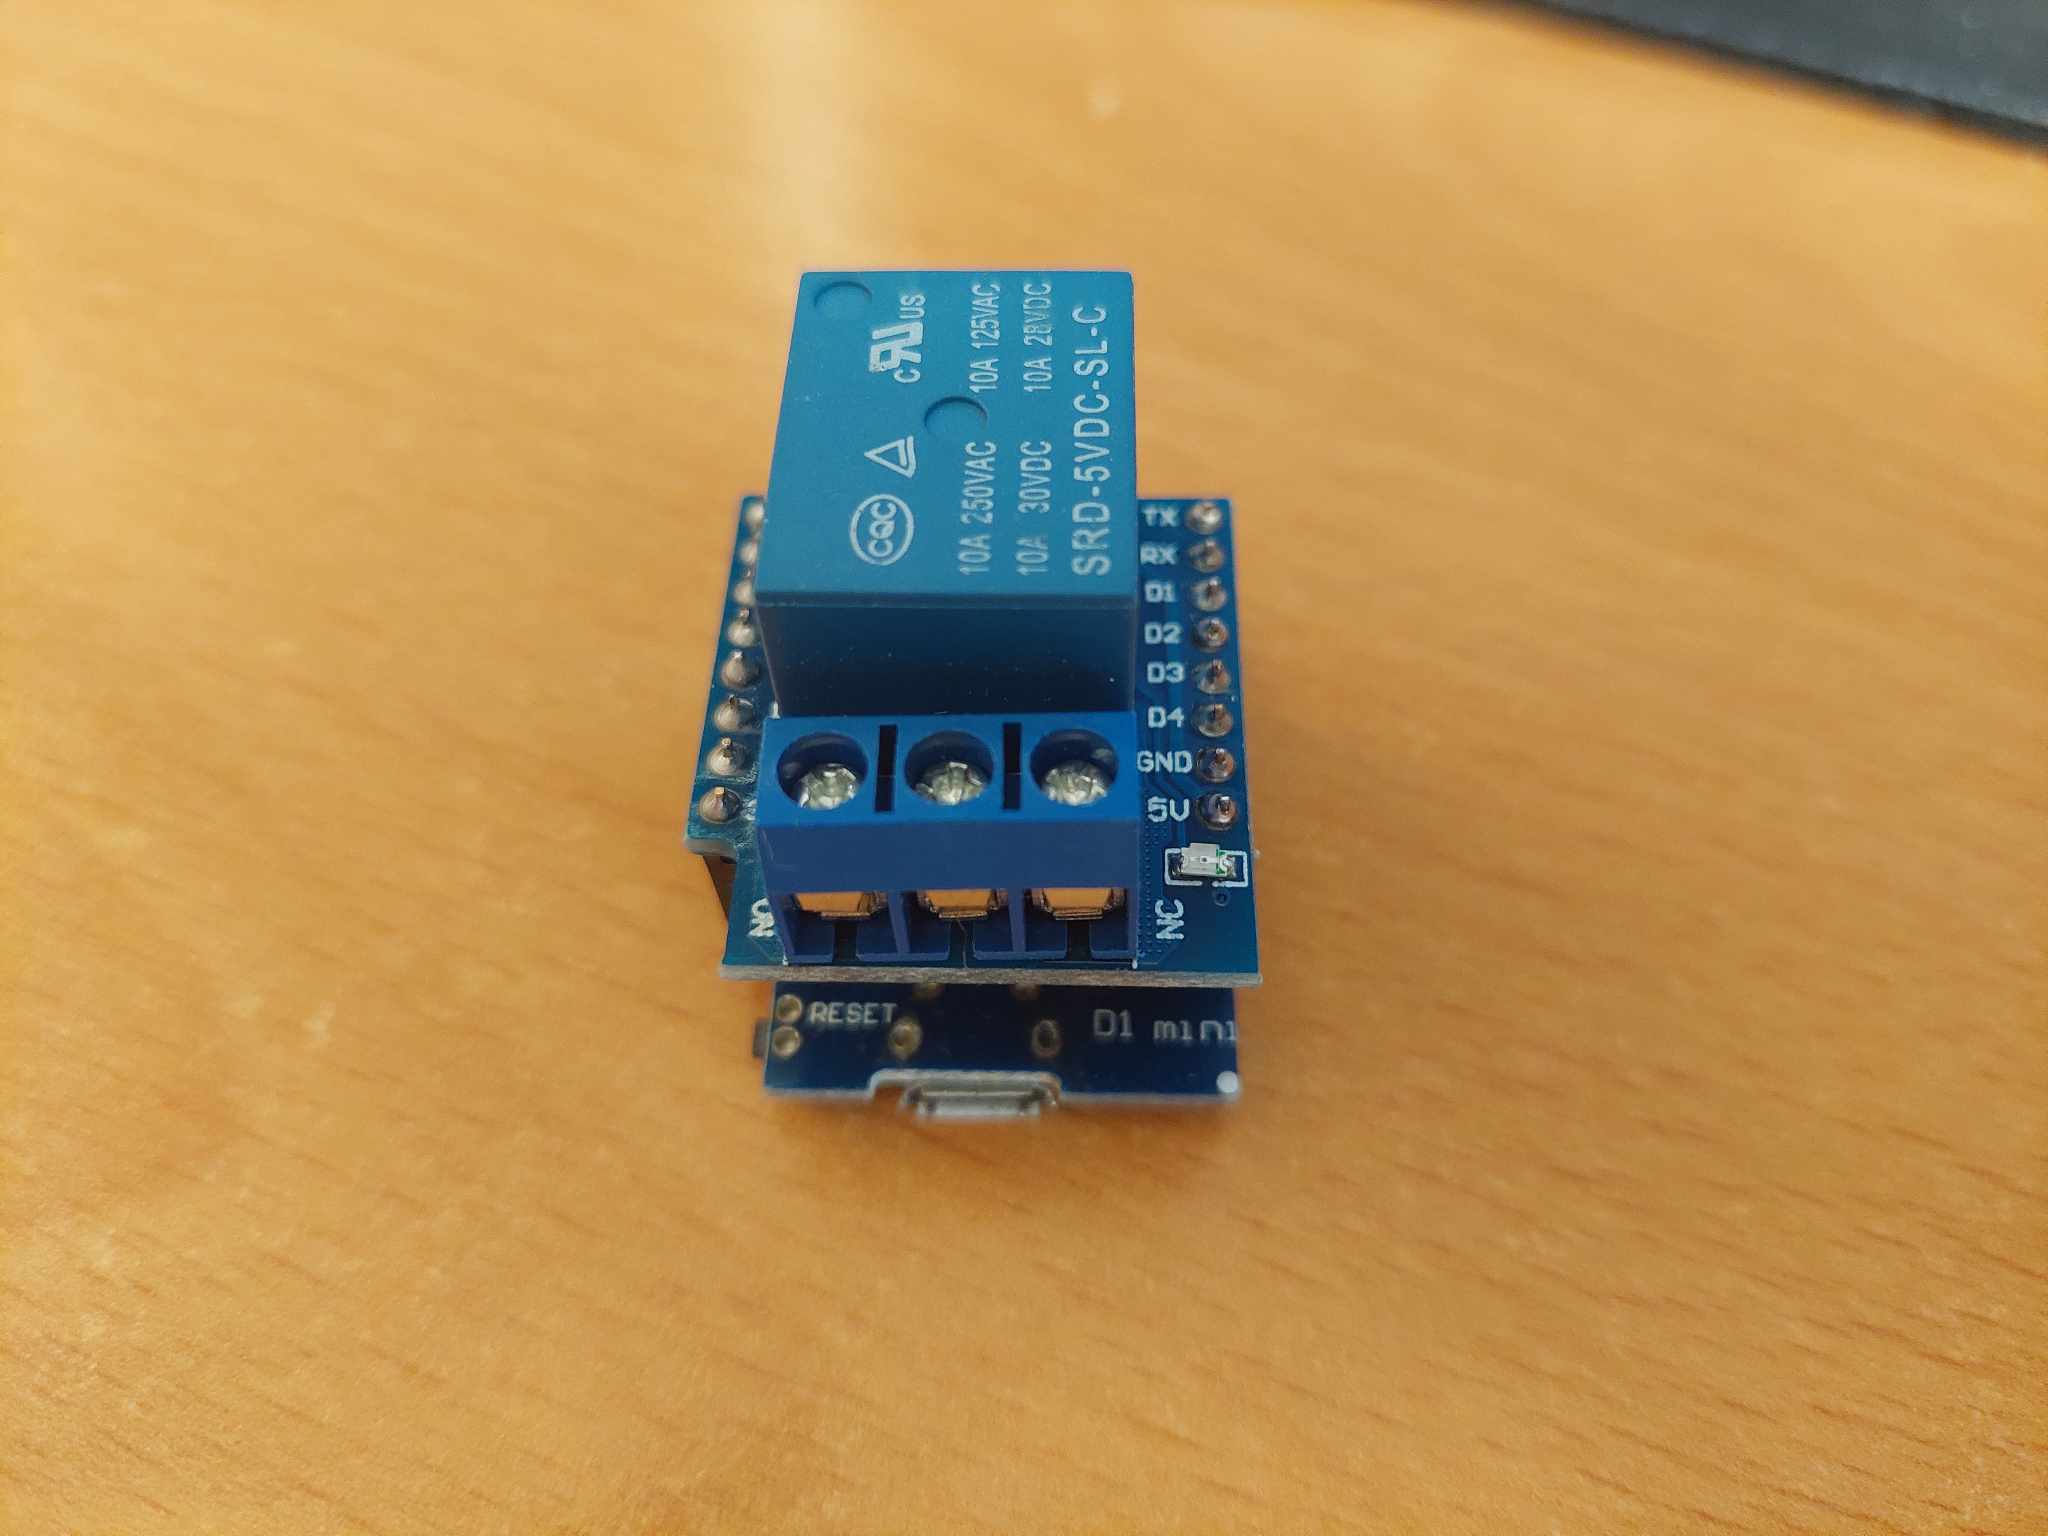
- Relay Module: Get a relay module to control your HVAC system and regulate heating or cooling( eg D1 Mini shield relay).
- Two D1 Mini Esp8266 modules.
- Wall plug adapters and necessary cables.
- Soldering iron to solder the headers on the D1 Mini modules. A good starting soldering iron could be the Miniware TS80 it uses USB-C PD2.0
Set Up Home Assistant:
- Install Home Assistant on your Raspberry Pi and configure it to connect to your network.
- Install and set up the ESPHome add-on within Home Assistant.
Configure ESPHome:
- Create two ESPHome configuration files for your two D1 mini ESP8266 microcontrollers.
- In one configuration define the temperature sensor component and link it to your chosen sensor.
- In the other configure the relay module to control your HVAC system based on temperature readings.
- Customize parameters such as temperature thresholds, hysteresis, and desired heating or cooling modes.
Upload Firmware to ESP8266/ESP32:
- Compile the ESPHome configurations and upload the firmware to your microcontrollers.
- Ensure that the correct microcontroller is connected to the temperature sensor and the second to the relay module if you use the D1 Mini system it’s straight forward.
Integration with Home Assistant:
- Home Assistant will automatically detect the ESPHome devices on your network.
- Configure the thermostat entity within Home Assistant, linking it to the temperature sensor and relay module.
Customization and Automation:
- Utilize Home Assistant’s user-friendly interface to customize the thermostat card and create automation rules.
- Set temperature setpoints, create schedules, and implement energy-saving algorithms based on your preferences.
Monitor and Control:
- Access the Home Assistant dashboard or mobile app to monitor temperature readings and control your thermostat remotely.
- Enjoy the convenience of adjusting temperature settings, creating automation routines, and receiving notifications from anywhere.
Conclusion:
While it may appear excessive at first, implementing a comprehensive smart home automation system with Home Assistant, allows users to future-proof their setup and easily add more functionality as needed. By establishing a solid foundation and integrating various devices and technologies, users can seamlessly expand their smart home capabilities over time without significant reconfigurations or additional hardware investments. This approach empowers users to explore new possibilities, experiment with different features, and adapt their smart home to their evolving needs and preferences.
By combining Home Assistant, ESPHome, and the power of ESP8266/ESP32 microcontrollers, you can create a Smart Thermostat tailored to your needs. Achieve precise temperature control, energy efficiency, and a comfortable living environment with this DIY project. Enjoy your new Smart Thermostat with Home Assistant and ESPHome. Now you can use the Home Assistant to control it from your phone or pc, and create automation to fit your needs.
Shopping list
As an Amazon Associate we earn from qualifying purchases.
But with no extra costs for our users.


